
- Тип техники
- Бренд
Просмотр инструкции атс Samsung ITP5012L, страница 43
© SAMSUNG Electronics Co., Ltd. Page 27
GETTING
S
TARTED
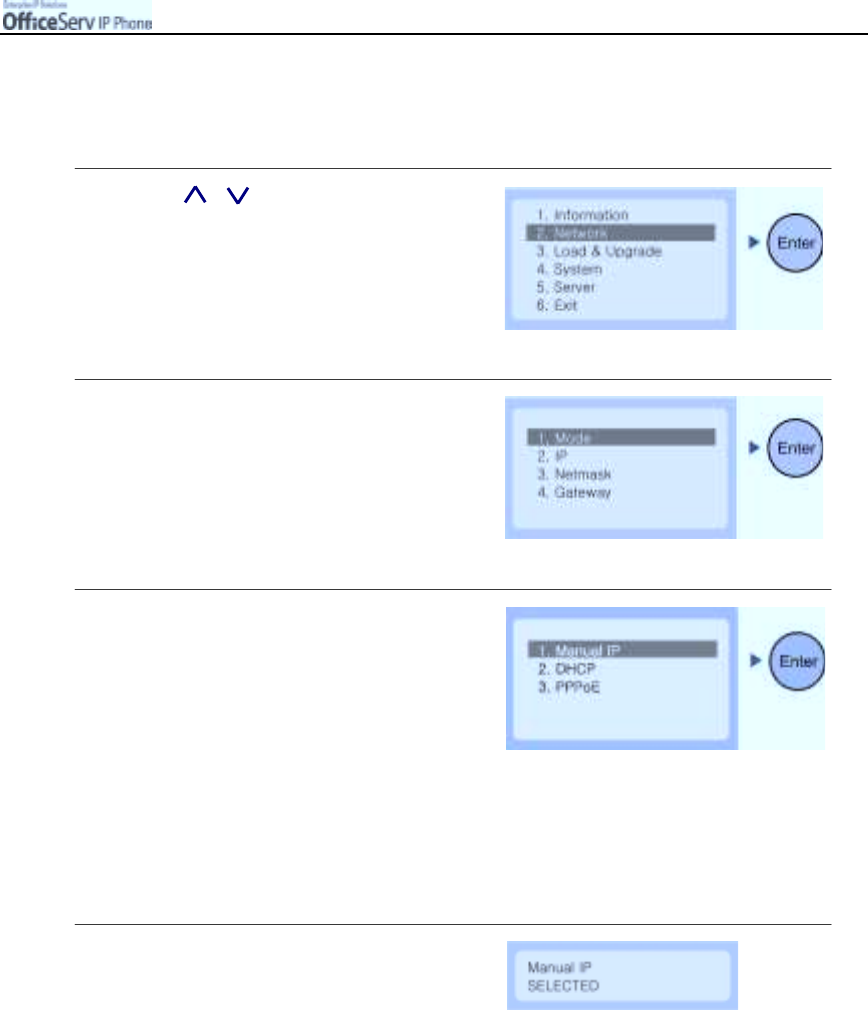
3. Network Settings
You can ve rify or cha nge the network e nvironme nt.
1.
Use the [ ]/[ ] button to move to
the [2. Network] menu and press
the [
Enter
] button.
2.
Move to the
[1. Mode]
submenu and
press the
[Enter]
button.
3.
Select
[1. Manual IP] menu
to
directly enter the phone’s IP address.
"
Se le c t [2. DHCP ] to let your data network
automatica lly allocate the IP address.
The IP Address, Subne t Mask,
and Gateway values are automatically
set and are not displa y ed on the LCD s cree n.
"
Se le c t [3. PPPoE] to us e a broa d ba nd network such
as A DSL. In this ca se, you should enter the
ID and password which was given from
broadband network s upplie r.
4.
After selecting the required mode a message
confirming the mode is displayed for 2
seconds.
Ваш отзыв будет первым