
- Тип техники
- Бренд
Просмотр инструкции сотового gsm, смартфона Sony CM-B1200, страница 27
27
Quick Ways
to Make Calls
Restricting Phone Book entries
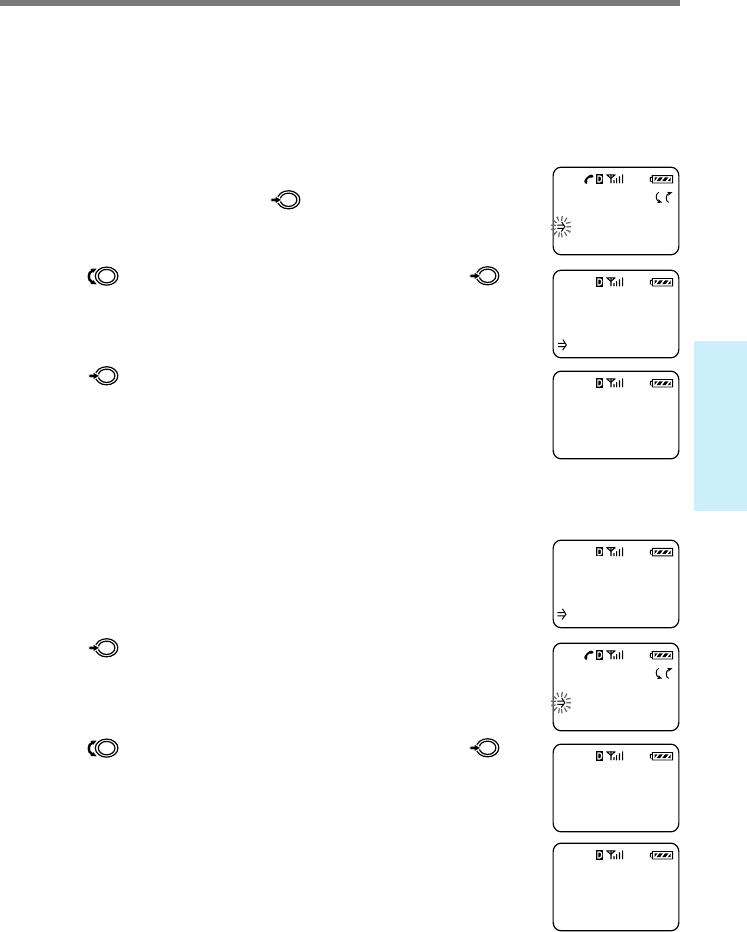
You can restrict individual Phone Book entries or the entire Phone Book, so that
access can be gained only by entering a lock code (see page 54). The phone numbers
of restricted entries will not be displayed.
1 Select the Phone Book entry that you want
to restrict, then push
.
The Options menu appears.
2 Turn to select “Restrict,” then push .
The following display appears.
3 Push to restrict the selected entry.
Now the selected entry is restricted. After a few
seconds, the standby display reappears.
To unrestrict an entry
1 Select the Phone Book entry that you want
to unrestrict.
The following display indicates a restricted entry.
2 Push .
The Options menu appears.
3 Turn to select “Restrict,” then push .
The following display appears, prompting you to enter
the lock code.
4
Use the number buttons to enter the lock
code.
Now the selected entry is unrestricted. After a few
seconds, the standby display reappears.
Tip
Also, you can use the Security menu to restrict/unrestrict Phone Book entries (see page 54).
SONY
<number is
restricted>
:Options
L15
My Phone
123-456-7890
:Restrict
L15
Entry is now
Restricted
L15
Restricted
phone book
entry.
CODE: ----
L15
Entry is now
UnRestricted
L15
OPTIONS
Erase
Send
Edit
L15
OPTIONS
Erase
Send
Edit
L15
Ваш отзыв будет первым