
- Тип техники
- Бренд
Просмотр инструкции мультиварки Vitek VT-4277 BK, страница 5
5
E N G L I S H
–
Place the multicooker on a flat heat-resistant sur-
face away from all kitchen heat
–
sources (such as a gas cooker, electric cooker or
cooking unit).
–
Place the unit keeping at least a 20 cm gap
between the multicooker body and the wall and
30-40 cm of space above the unit.
–
Do not place the multicooker close to objects that
can be damaged by the released steam of high
temperature.
Attention! Do not use the unit near bath tubs,
kitchen sinks or other containers filled with water.
–
Open the lid (4) by pressing the button (3).
–
Wash all the removable parts: the bowl (22),
steam cooking basket (23), soup ladle (24), spat-
ula (25), measuring cup (26), yogurt cups (27)
and small lids (28) - with a soft sponge and a
neutral detergent, then rinse under running water
and dry.
–
Clean the unit body with a damp cloth, then wipe
it dry.
USING THE MULTICOOKER
Attention!
•
Never leave the operating unit unattended.
•
During the first operation of the multicooker,
some foreign smell from the heating element
can appear. It is normal.
•
Before you start cooking make sure that the
multicooker lid is closed tightly to avoid bad
cooking caused by disrupted heat-insulation.
•
To avoid burns be very careful when open-
ing the lid (4), do not bend over the steam
release openings (5) during unit operation
and do not place open parts of your body
above the bowl (22)!
•
Watch the food during cooking and, if neces-
sary, stir the foodstuffs with the plastic soup
ladle (24) or spatula (25). Do not use metal
objects that can scratch the non-stick coat-
ing of the bowl (22).
•
Do not leave the plastic soup ladle (24) or
spatula (25) in the bowl.
Note:
The keyboard on the front panel of the multicooker
is touch-sensitive, so you only need to touch slightly
the marked point for each button to activate it. Every
pressing of the buttons is accompanied by a short
sound signal.
1. Unit connection (standby mode)
After connecting the multicooker to the mains you will
hear a short sound signal and the symbols «----» will
appear on the display (20); the indicator
on the
control panel (2) will be flashing.
The unit is switched to the standby mode and is
ready for use.
Note:
In the standby mode the buttons are locked
automatically if you don’t press them for
20 seconds; you will hear a short sound signal
and the indicator brightness will slightly decrease.
To unlock the control buttons slowly pass your
finger over the buttons (13), (14), (18), (17) from
left to right.
2. Selecting and starting the cooking
program
Press the «MENU» button (16) to select one of 24
cooking programs, the cooking program indica-
tors (21) will be lighting up alternately on the control
panel (2), and the symbols indicating default cook-
ing default time will be flashing on the display (20).
You can also use the buttons «-» (18) and «+» (14)
to switch to the previous cooking program or select
the next one.After selecting the desired cooking
program press and hold the «START» button (15)
for more than 2 seconds, and the cooking process
will start; the indicator of the corresponding cook-
ing program will light up and the other cooking pro-
gram indicators will not, the display (19) will show
the bowl bottom temperature,and the countdown
of the set cooking time will be shown on the display
(20). The indicator
on the control panel (2) will
light constantly.
Note:
•
To select the cooking program quicker, press and
hold the «-» (18) and «+» (14) buttons.
•
If no button is pressed after selecting the
required program, after some time (~20 sec-
onds) you will hear a short sound signal and the
unit will switch back to the standby mode and
will be ready for selecting a new cooking pro-
gram.
•
During cooking the buttons are locked automati-
cally if you don’t press them for 20 seconds; you
will hear a short sound signal and the indicator
brightness will slightly decrease. To unlock the
control buttons slowly pass your finger over the
buttons (13), (14), (18), (17) from left to right.
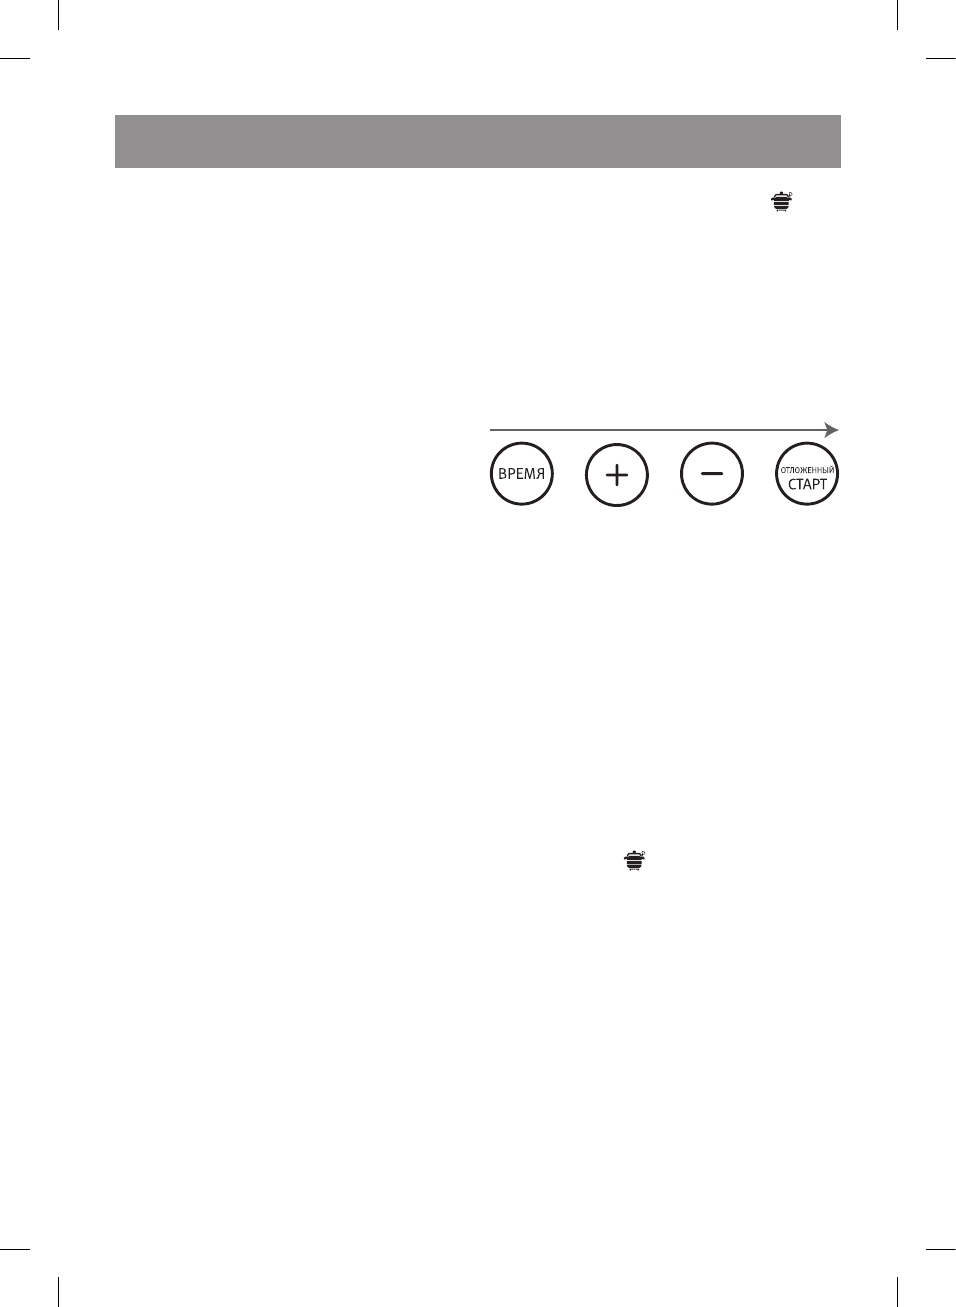
See the picture above.
IM VT-4277.indd 5 17.05.2016 14:38:45
Ваш отзыв будет первым