
- Тип техники
- Бренд
Просмотр инструкции материнской платы Gigabyte GA 8GEMT4, страница 15
- 11 - Hardware Installation Process
English
DDR
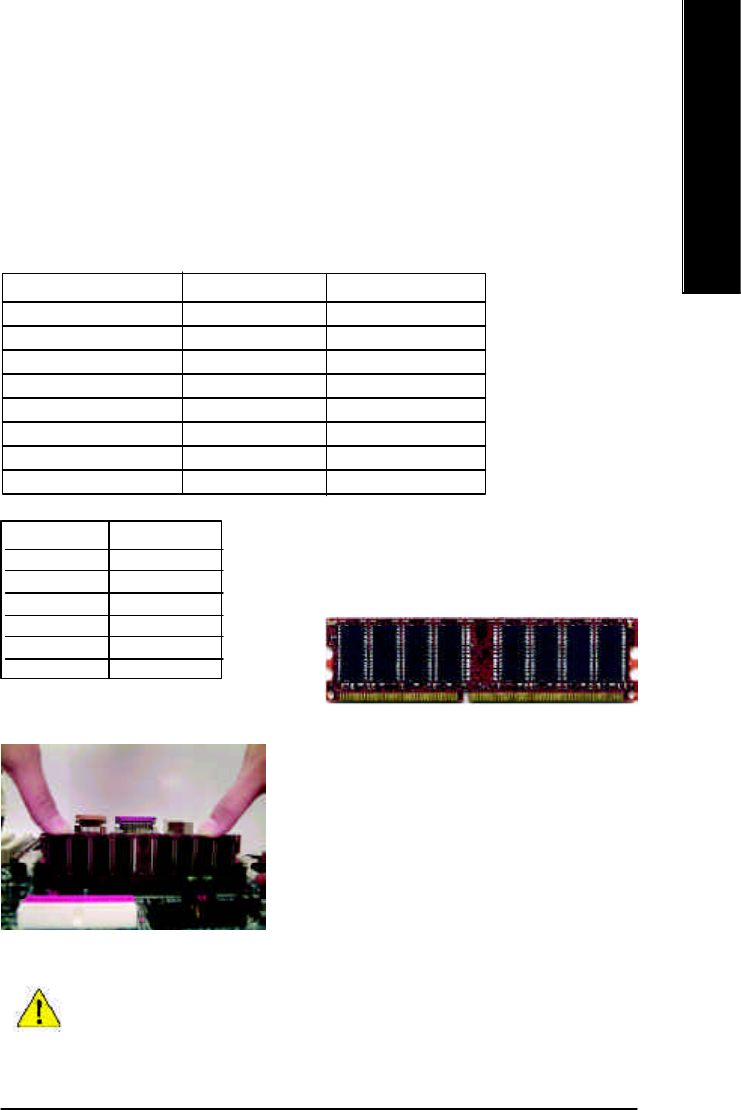
1. The DIMM socket has a notch, so the DIMM memory
module can only fit in one direction.
2. Insert the DIMM memory module vertically into the
DIMM socket. Then push it down.
3. Close the plastic clip at both edges of the DIMM
sockets to lock the DIMM module.
Reverse the installation steps when you wish to
remove the DIMM module.
D:Double Sided DIMM S:Single Sided DIMM
X:Not Use
DDR1 DDR2
S S
D S
D D
D X
S D
S X
M When STR/DIMM LED is ON, do not install/remove DIMM from socket.
M Please note that the DIMM module can only fit in one direction due to
the two notches. Wrong orientation will cause improper installation.
Please change the insert orientation.
Step 2: Install memory modules
The motherboard has 2 dual inline memory module (DIMM) sockets. The BIOS will automatically
detects memory type and size. To install the memory module, just push it vertically into the DIMM socket
.The DIMM module can only fit in one direction due to the notch. Memory size can vary between
sockets.
Total Memory Sizes With Unbuffered DDR DIMM
Devices used on DIMM 1 DIMM x 64 / x 72 2 DIMMs x 64 / x 72
64 Mbit (2Mx8x4 banks) 128 MBytes 256 MBytes
64 Mbit (1Mx16x4 banks) 32 MBytes 64 MBytes
128 Mbit(4Mx8x4 banks) 256 MBytes 512 MBytes
128 Mbit(2Mx16x4 banks) 64 MBytes 128 MBytes
256 Mbit(8Mx8x4 banks) 512 MBytes 1 GBytes
256 Mbit(4Mx16x4 banks) 128 MBytes 256 MBytes
512 Mbit(16Mx8x4 banks) 1 GBytes 2 GBytes
512 Mbit(8Mx16x4 banks) 256 MBytes 512 MBytes
Notes: Double-sided x16 DDR memory devices are not support by Intel 845E/G/PE/GE chipset.
Ваш отзыв будет первым