
- Тип техники
- Бренд
Просмотр инструкции насосы Al-ko JET 40003 PREMIUM, страница 16
en
Instructions for use
16 JET 4000 / JET 5000 / JET 6000
Cleaning the check valve
1. Removing and fitting the filter (see Section
"Cleaning the Filter").
2. Check valve (Fig. C -21) and clean under flo-
wing water.
3. Replace seal (Fig. C -22) if necessary.
4. Fit check valve.
Unscrew float body
1. Pressure line (Fig. B -11) with elbow nipple
(Fig. B -13) and connecting nipple (Fig. B -15)
.
2. Unscrew screw-in nipple (Fig. D -24) with seal
(Fig. D -25) . Note the fitting position of the
float body (Fig. D -26) . Pull out the float body
and clean it.
3. Replace the float body - note fitting position.
Flushing the pump
After conveying swimming pool water containing
chlorine or fluids that leave a residue the pump
must be flushed out with clear water.
Remove blockages
1. Isolate the unit from the mains and secure
against switching on again.
2. Remove the suction hose from pump inlet.
3. Connect the pressure hose to the water sup-
ply.
4. Allow water to run through the pump housing
until the blockage is removed.
5. Check that the pump is running freely by swit-
ching it on briefly.
6. Start the house water system again as descri-
bed.
STORAGE
1. Drain the suction and pressure lines.
2. Unscrew the drain screws (Fig. A -10,10A)
using the filter key and allow the water to flow
out of the pump.
3. Screw the drain screws back in place and
store the pump and accessories in a frost-free
environment.
ADVICE
If there is a risk of frost, the system must
be completely drained.
DISPOSAL
Do not dispose of old
equipment,batteries or accumulators
as householdwaste!
Product, packaging, and accessories
were made with recyclable materials, and
should be disposed of accordingly.
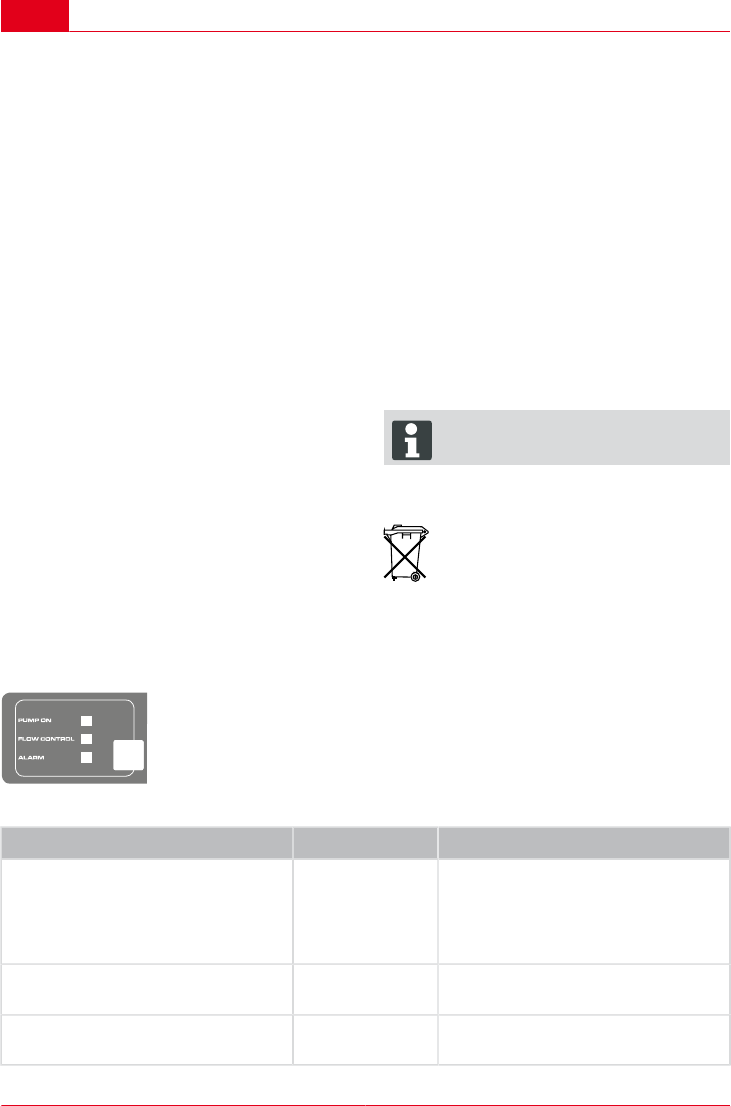
LED DISPLAYS
START
STOP
Normal operating mode
Switching condition LED display Function description
Push the START /STOP button. Pump
switches on and starts to draw water.
PUMP ON LED
display lights up.
FLOW CONTROL
LED display flas-
hes.
Initial commissioning: Suction and
pressure side connected, pump filled
with water, water present on suction
side. Pump connected to the mains.
Pump running. PUMP ON LED
display lights up.
Pump feeds water. Water is removed
on the pressure side.
Pushing the START/STOP button - the
pump switches off.
LED displays off. Pump off
Ваш отзыв будет первым