
- Тип техники
- Бренд
Просмотр инструкции измерительного прибора Bosch GLM 80 шина R60, страница 32
32 | English
2 609 140 807 | (21.1.11) Bosch Power Tools
The measuring tool must not be moved while
taking a measurement (with the exception of
the continuous measurement and grade meas-
urement functions). Therefore, place the meas-
uring tool, as far as this is possible, against or on
a firm stop or supporting surface.
Influence Effects on the Measuring Range
The measuring range depends upon the light
conditions and the reflection properties of the
target surface. For improved visibility of the la-
ser beam when working outdoors and when the
sunlight is intense, use the laser viewing glasses
27 (accessory) and the laser target plate 28 (ac-
cessory), or shade off the target surface.
Influence Effects on the Measuring Result
Due to physical effects, faulty measurements
cannot be excluded when measuring on differ-
ent surfaces. Included here are:
– Transparent surfaces (e.g., glass, water),
– Reflecting surfaces (e.g., polished metal,
glass),
– Porous surfaces (e.g. insulation materials),
– Structured surfaces (e.g., roughcast, natural
stone).
If required, use the laser target plate 28 (acces-
sory) on these surfaces.
Furthermore, faulty measurements are also pos-
sible when sighting inclined target surfaces.
Also, air layers with varying temperatures or in-
directly received reflections can affect the
measured value.
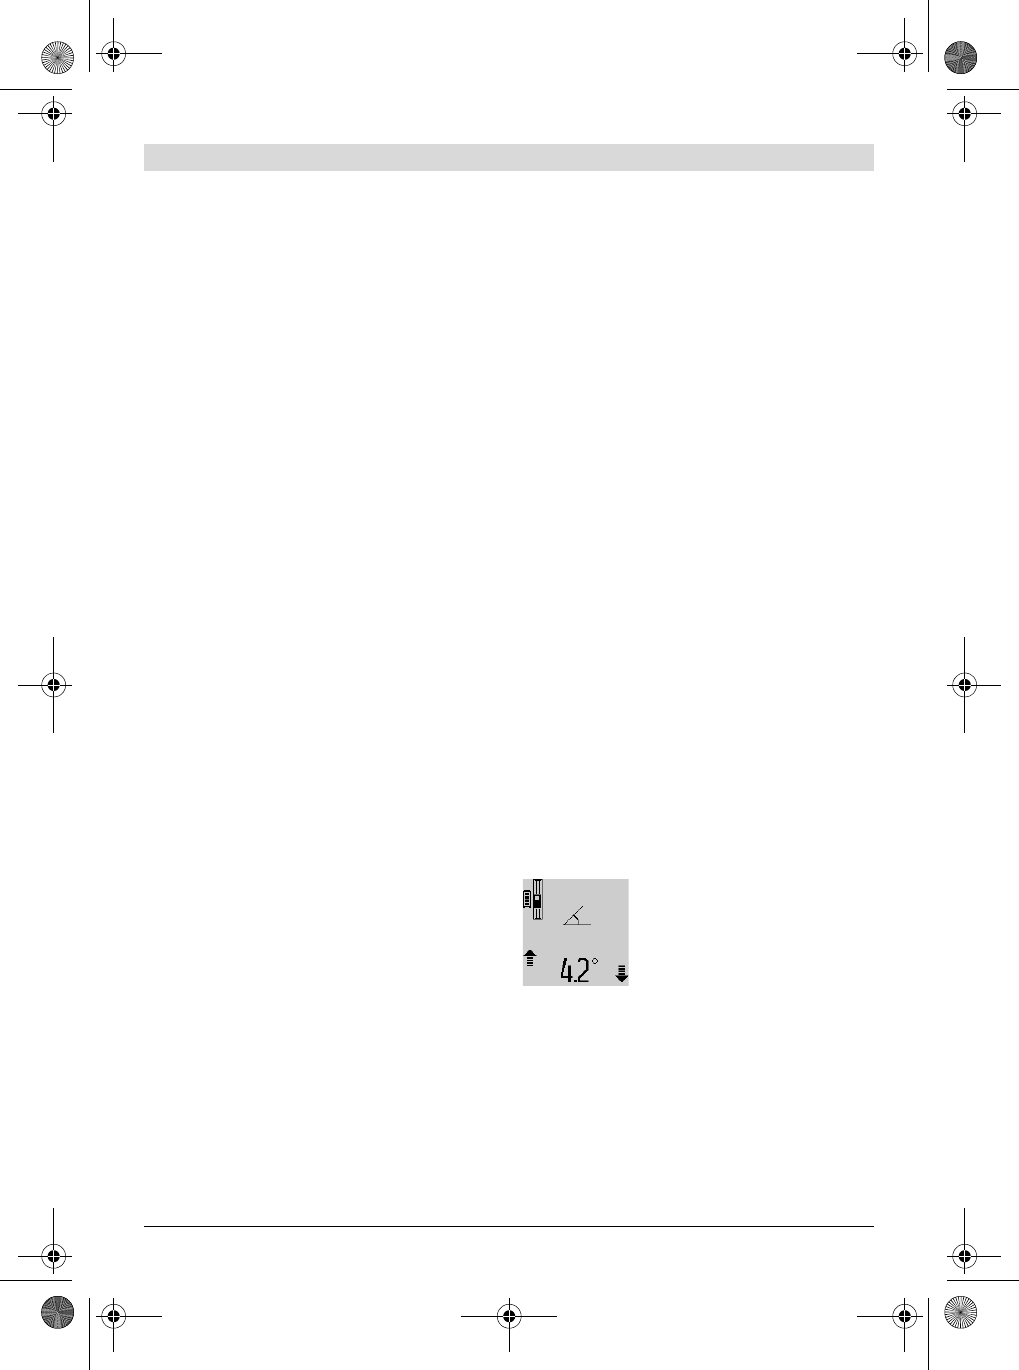
Accuracy Check and Calibration of the Grade
Measurement (see figure H)
Regularly check the accuracy of the grade meas-
urement. This is done by carrying out a reversal
measurement. For this, place the measuring tool
on a table and measure the grade. Turn the
measuring tool by 180 ° and measure the grade
again. The difference of the indicated reading
may not exceed by more than 0,3 ° (max.).
In case of greater deviation, the measuring tool
must be recalibrated. For this, press and hold
the grade measurement button 3. Follow the di-
rections on the display.
Accuracy Check of the Distance Measurement
The accuracy of the distance measurement can
be checked as follows:
– Select a permanently unchangeable measur-
ing section with a length of approx. 1 to 10
metres; its length must be precisely known
(e.g. the width of a room or a door opening).
The measuring distance must be indoors; the
target surface for the measurement must be
smooth and reflect well.
– Measure the distance 10 times after another.
The deviation of the individual measurements
from the mean value must not exceed ± 2mm
(max.). Log the measurements, so that you can
compare their accuracy at a later point of time.
Working with the Tripod (Accessory)
The use of a tripod is particularly necessary for
larger distances. Position the measuring tool
with the 1/4" thread 19 onto the quick-change
plate of the tripod 26 or a commercially available
camera tripod. Tighten the measuring tool with
the locking screw of the quick-change plate.
Set the corresponding reference level for meas-
urement with a tripod by pushing button 10 (the
reference level is the thread).
Working with the Measuring Rail
(see figures I–K)
The measuring rail 24 can be used for a more ac-
curate grade measurement result. Distance
measurements are not possible with the meas-
uring rail.
Place the measuring tool into the
measuring rail 24 as shown and
lock the measuring tool with
locking lever 25. Press the meas-
uring button 2 to activate the
“Measuring rail” operating mode.
Regularly check the accuracy of the grade meas-
urement by carrying out a reversal measurement
or with the spirit levels of the measuring rail.
In case of greater deviation, the measuring tool
must be recalibrated. For this, press and hold
the grade measurement button
3. Follow the di-
rections on the display.
To end the “Measuring rail” operating mode,
switch the measuring tool off and remove it
from the measuring rail.
OBJ_BUCH-1347-001.book Page 32 Friday, January 21, 2011 10:30 AM
Ваш отзыв будет первым