
- Тип техники
- Бренд
Просмотр инструкции измерительного прибора Bosch GLM 250 VF Prof, страница 26
26 | English
1 609 929 T67 | (3.7.09) Bosch Power Tools
Changing the Unit of Measure
For indication of the measured values, the unit
of measure can be changed at any time.
The following units of measure are possible:
– Length measurement: m, cm, mm,
– Area/surface measurement: m
2
,
– Volume measurement: m
3
.
To to change the unit of meas-
ure, press the function-mode
button 3 until the “change
unit of measure” indication
appears on the display. Select
the required unit of measure
by pressing the plus button 6
or the minus button 12.
Measuring Functions
Simple Length Measurement
For length measurements, press button 4 until
the “length measurement” indication appears
on the display.
Press the measuring button 7
once for sighting and once
more to take the measure-
ment.
The measured value is dis-
played in the result line c.
For several subsequent length measurements,
the last measured results are displayed in the
measured-value lines a.
Continuous Measurement (Tracking)
For continuous measurements, the measuring
tool can be moved relative to the target, where-
by the measuring value is updated approx. every
0.5 seconds. In this manner, as an example, you
can move a certain distance away from a wall,
while the actual distance can always be read.
For continuous measurements, firstly select the
length measuring mode and then press the
measuring button 7 until the “indicator for con-
tinuous measurement” appears on the dis-
play. The laser is switched on and the measure-
ment starts immediately.
The current measured value is
displayed in the result line c.
Briefly pressing the measur-
ing button 7 ends the contin-
uous measurement. The last
measured value is displayed
in the result line c. Pressing
the measuring button 7 for several seconds re-
starts a continuous measuring run.
Continuous measurement automatically
switches off after 5 min. The last measured
value remains indicated in the result line c.
Minimum/Maximum Measurement
(see figure F–G)
The minimum measurement is used to deter-
mine the shortest distance from a fixed refer-
ence point. It is used, as an example, for deter-
mining plumb lines or horizontal partitions.
The maximum measurement is used to deter-
mine the greatest distance from a fixed refer-
ence point. It is used, as an example, for deter-
mining diagonals.
For simple minimum/maximum measurement,
firstly select “length measurement mode” and
then press button 13 “min” is displayed in result
line c for minimum measurement. For maximum
measurements, press button 13 again, so that
“max” is displayed in the result line. Then press
the measuring button 7. The laser is switched on
and the measurement starts.
Move the laser back and forth over the requested
target (e.g., the room corner for determining the
diagonal) in such a manner that the reference
point of the measurement (e.g., the tip of the
positioning pin 18) always remains at the same
location.
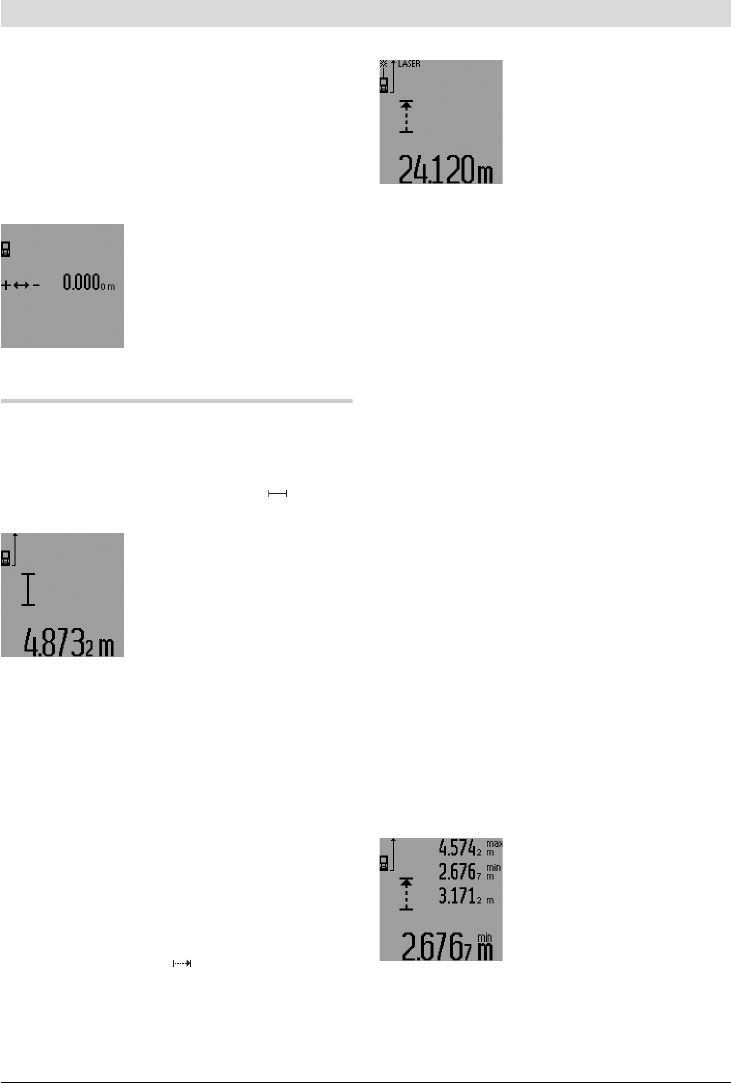
Depending on the set mode,
the minimum or maximum val-
ue is displayed in the result
line c. It is always overwritten,
when the current length
measurement value is less
than the present minimal or
larger than the present maximal value. The maxi-
mal (“max”), the minimal (“min”) and the cur-
rent measuring value are displayed in the meas-
ured-value lines a.
OBJ_BUCH-947-004.book Page 26 Friday, July 3, 2009 8:44 AM
Ваш отзыв будет первым