
- Тип техники
- Бренд
Просмотр инструкции плиты Hotpoint-Ariston CG 65SG1 X, страница 9
GB
9
*
Only available in certain models.
! The oven is fitted with a safety device and it is
therefore necessary to hold the OVEN control knob
down for approximately 6 seconds.
! If the flame is accidentally extinguished, switch off
the burner and wait for at least 1 minute before
attempting to relight the oven.
Adjusting the temperature
To set the desired cooking temperature, turn the
OVEN control knob in an anticlockwise direction.
Temperatures are displayed on the control panel and
may vary between MIN (150°C) and MAX (250°C).
Once the set temperature has been reached, the oven
will keep it constant by using its thermostat.
! If the flame is accidentally extinguished, switch off
the burner and wait for at least 1 minute before
attempting to relight the grill.
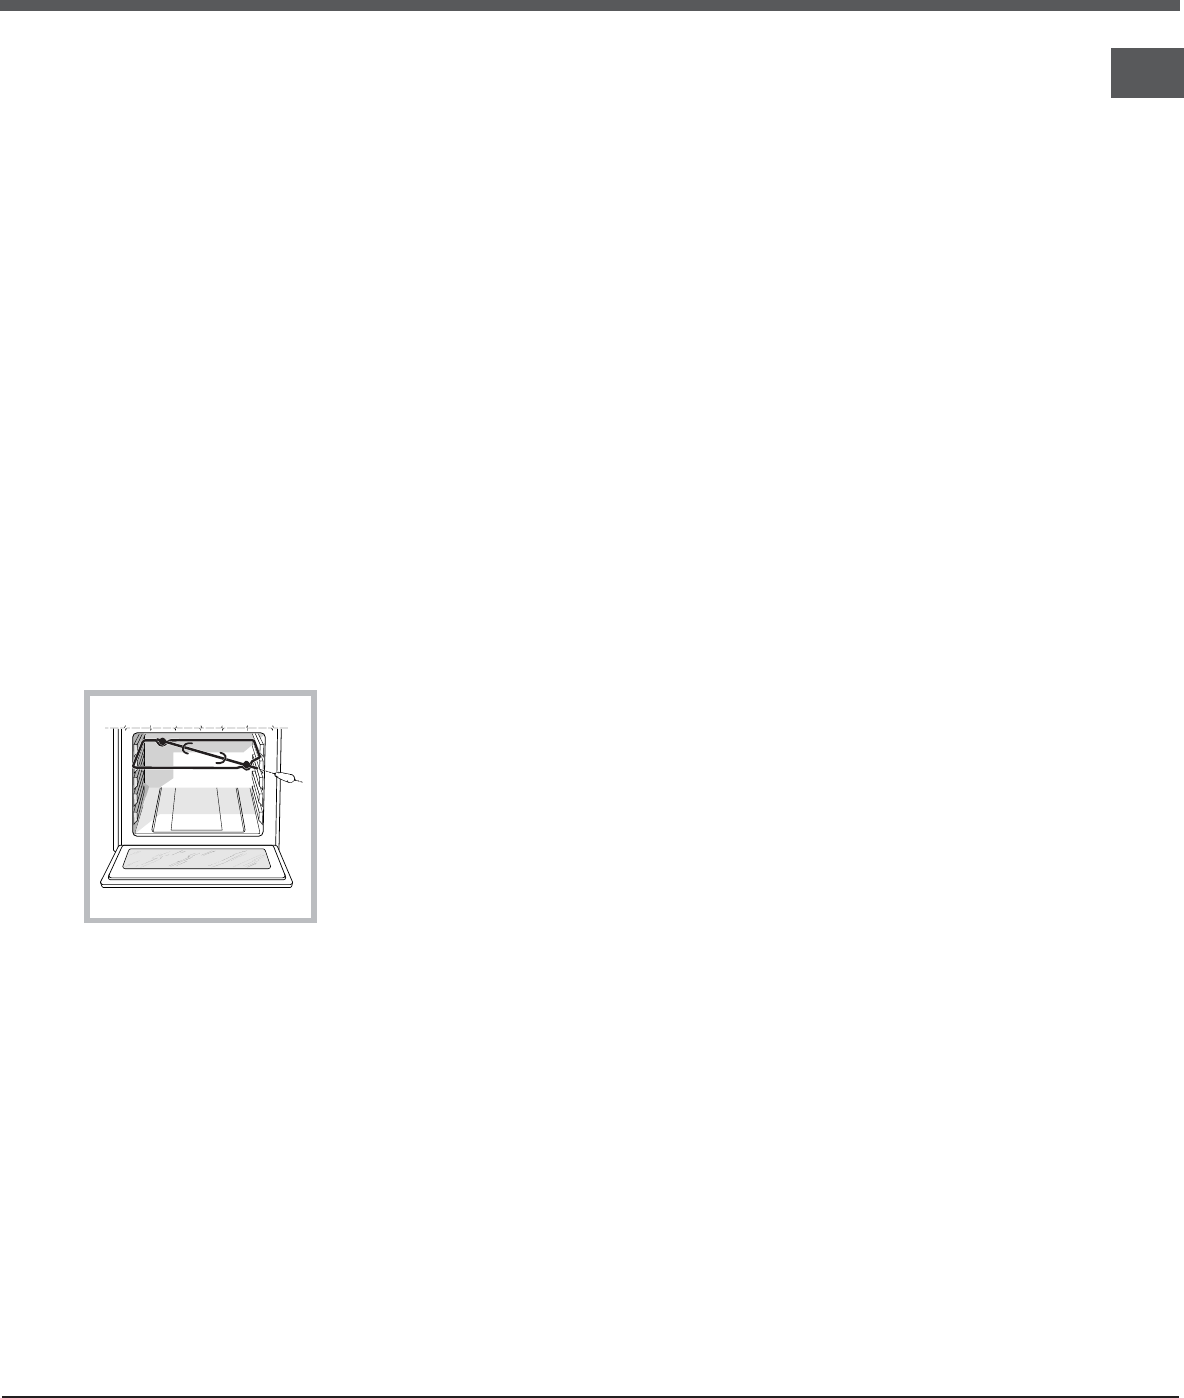
Turnspit
To operate the rotisserie (
see diagram
) proceed as
follows:
1. Place the dripping
pan in position 1.
2. Place the rotisserie
support in position 4
and insert the spit in the
hole provided on the
back panel of the oven.
3. Acitvate the function
by pressing the
TURNSPIT button.
Oven light
The light may be switched on at any moment by
pressing the OVEN LIGHT button.
Timer*
To activate the Timer proceed as follows:
1. Turn the TIMER knob in a clockwise direction 4
for almost one complete revolution to set the buzzer.
2. Turn the TIMER knob in an anticlockwise direction
5 to set the desired length of time.
Electronic timer*
This function displays the time and works as a timer
which counts down to zero.
! All functions will be implemented approximately 7
seconds after they have been set.
Resetting the clock
After the appliance has been connected to the
power supply, or after a power cut, the clock display
will begin to blink, showing the figure:
0:000:00
0:000:00
0:00
• Press button
G G
G G
G and then buttons - and + to set
the exact time. Press and hold the buttons to
quicken the count upwards.
Any necessary modifications can be made by
repeating the above process.
Timer feature
This function may be accessed by pressing the
nn
nn
n
button, after which the display will show the symbol
nn
nn
n. Every time the + button is pressed it
corresponds to a time increase of 10 seconds, until
it reaches 99 minutes and 50 seconds. After this
point, each press of the button represents an
increase of one minute, up to a maximum of 10
hours.
Pressing the - button reduces the time.
After the time period has been set, the timer will
begin to count down. When the timer reaches zero,
the buzzer will sound (this may be stopped by
pressing any button).
The time may be displayed by pressing the
GG
GG
G
button, and the
nn
nn
n symbol indicates that the timer
function has been set. After approximately 7
seconds, the display will automatically revert to the
timer.
Cancelling a time that has already been set
Press the
– button until the display shows
0:00.0:00.
0:00.0:00.
0:00.
Adjusting the buzzer volume
After selecting and confirming the clock settings,
use the – button to adjust the volume of the alarm
buzzer.
Ваш отзыв будет первым