
- Тип техники
- Бренд
Просмотр инструкции ресивера и усилителя Yamaha R-840, страница 71
PREPARATIONS
13 En
English
PREPARATION
Before starting playback operation, follow the procedure
below to adjust the clock setting of the receiver.
Notes
• Use the remote control to set the clock. You cannot set the clock
with the buttons on the receiver.
• The receiver supports 24-hour clock display.
• If you do not touch any key for 90 seconds, the receiver returns
to normal mode.
1 Press to turn the receiver on.
The front panel display lights up.
2 Press TIMER to show the current time.
If the clock is not set, “SET TIME” flashes on the
display.
Press ENTER to proceed to step 3.
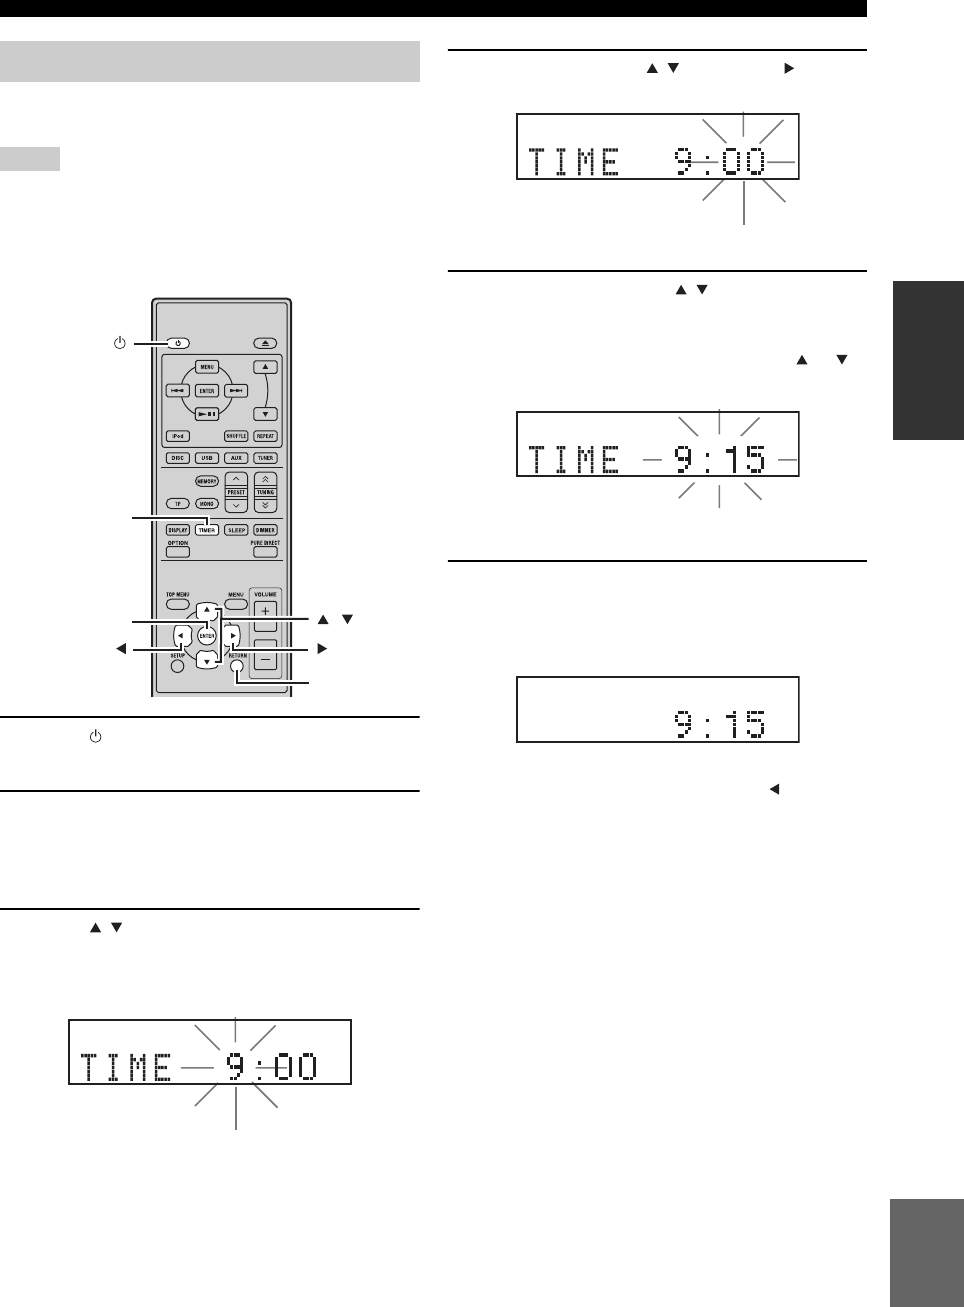
3 Press / to select “TIME”, and press
ENTER.
The receiver enters clock setting mode. The hour
digits start flashing.
4 Set the hour using / , and press .
The minute digits start flashing.
5 Set the minutes using / , and press
ENTER.
The hour and minute digits start flashing.
To change the hour or minutes again, press or ,
do steps 4 and 5, and proceed to step 6.
6 Press ENTER.
The clock is set.
The hour and minute segments stop flashing and
remain on. The receiver returns to normal mode.
y
You can return to the previous screen by pressing or
RETURN.
Adjusting the Clock
TIMER
ENTER
,
RETURN
Flashes
Flashes
Flashes
Ваш отзыв будет первым