
- Тип техники
- Бренд
Просмотр инструкции плиты Indesit K 300 E.C_R, страница 6
6
The different functions and uses of the oven
The various functions included in the cooker are selected by
operating the control devices located on the cooker control
panel.
Notice: The first time y ou use your appliance , we recom-
mend that you set the thermostat to the highest setting
and leav e the ov en on f or about half an hour with nothing
in it, with the oven door shut. Then, open the oven door
and let the room air . The odour that is often detected dur-
ing this initial use is due to the e vaporation of substances
used to protect the oven dur ing storage and until it is in-
stalled.
Attention: Only use the bottom shelf of the oven when using
the rotisserie to cook (where present). F or all other types of
cooking, never use the bottom shelf and never place anything
on the bottom of the oven when it is in operation because
this could damage the enamel. Always place your cookware
(dishes, aluminium foil, etc. etc.) on the g r ate pro vided with
the appliance inserted especially along the ov en guides.
The oven knobs
With these two controls you can select the different
functions of the oven and choose the cooking temper atu-
re suitable for the food you are preparing. The different
cooking functions are set up by operating the two knobs:
G - the selection knob
N - the thermostat knob
on the ov en panel.
For any selection-knob setting different from idle, identified
by the “0”, the o ven light turns on; the knob setting marked
8
per mits turning on the oven light without any heating
element being switched on. When the oven light is on, it
means that the oven is in use , and it will remain on for the
entire time the ov en is being used.
1. Static o ven
- Knob “G” setting: a
- Knob “N” setting: an ywhere betw een 50°C and Max
The oven light tur ns on and the top and bottom heating
elements (resistors) switch on. The temperature, fix ed b y
the thermostat knob, is reached automatically and kept
constant by the thermostat control. This function permits
cooking and type of f ood thanks to e xcellent temperature
distribution.
2. The bottom heating element
- Knob “ G” setting: y
- Knob “N” setting: an ywhere betw een 50°C and Max
The oven light tur ns on and so does the bottom heating
element. The temperature, fixed by the ther mostat knob,
is reached automatically and kept constant. This setting is
recommended for finishing the cooking of foods (placed
in pans) that are well done on the outside but still not done
inside or for desserts covered with fruit or jam which require
a light browning on top. Note that this function does not
permit reaching the maximum (250°C) temperature inside
for cooking foods always on this oven setting unless the
foods are cakes which only require temperatures below
or equal to 180°C .
3. The grill
- Knob “ G” setting: D
- Knob “N” setting: Max
The ov en light turns on and so does the infr a-red ra y grill,
and the motor starts turning the spit. The rather high and
direct temperature of the grill permits browning the outside
of meats immediately thus keeping in the juices and
assuring tenderness.
4. The double grill
- Knob “ G” setting: 2
- Knob “N” setting: Max
The oven light turns on and so does the double heating
element of the grill and the motor starts tur ning the spit.
This grill is larger than the aver age and has a completely
new design: cooking performance is increased 50%. The
double grill makes sure that even the corners are touched
by heat.
Important: when using the grill, keep the oven door closed
to obtain the best results and save energy (about 10%).
When utilizing the grill, place the rack at the lower levels
(see cooking table). To catch grease or fat and prevent
smoke, place a dripping-pan at the bottom rack level.
Important: when using the grill, the oven door must be
left par tly open by positioning the deflector “D” between
door and panel to prevent the cooker knobs from
overheating.
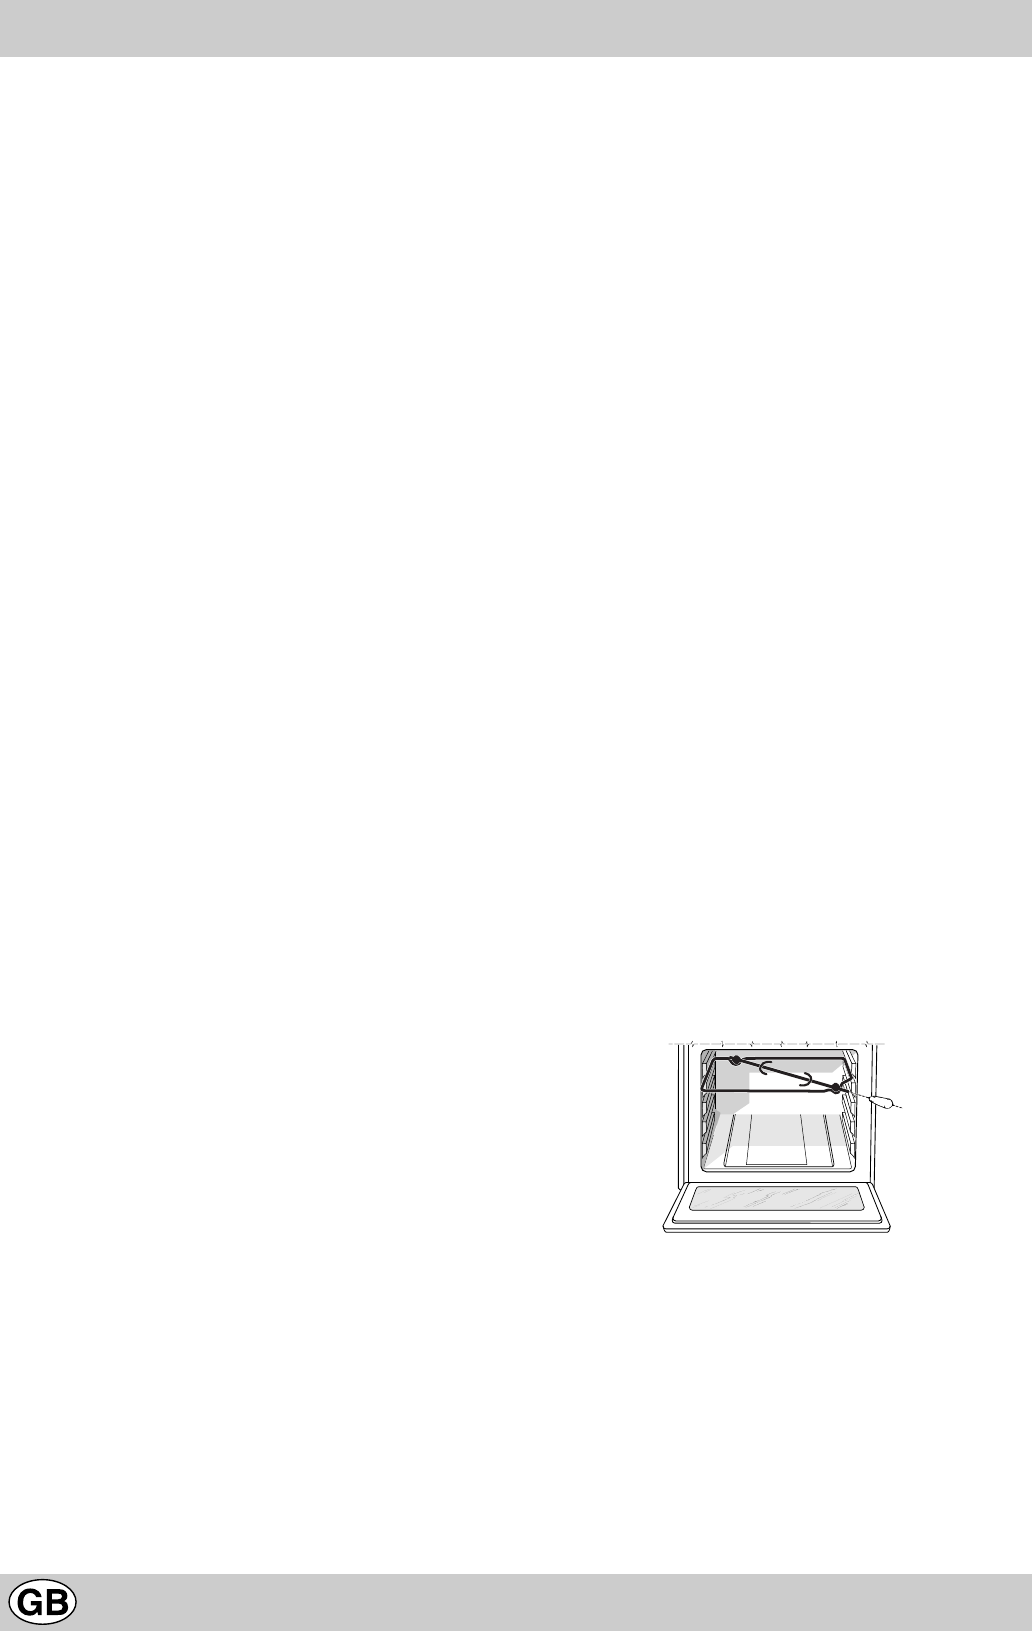
The rotisserie
To operate the rotisserie, proceed as f ollo ws:
a) place the dripping-pan on the 1st rac k;
b) insert the special rotisserie support on the 4th rack and
position the spit by inser ting it through the special hole
into the rotisserie at the back of the ov en;
c) to start the spit, set the oven selection knob (G) on
setting D (which delivers 50% of the total grill power)
for small quantities of food, or on setting 2 (which
delivers total grill power).
The oven-operating pilot lamp (L)
Signals when the ov en is heating. It switches off when the
temperature inside the oven reached the temperature
selected by the knob . At this point the alternate turning on
and turning off of this light indicates that the thermostat is
operating correctly to keep the oven temperature constant.
The cook-top electric plate control knobs (I)
The cookers may be equipped with standard, fast and
automatic electric plates in various combinations (the fast
plates distinguished from the others by a red dot in the
centre, the automatic ones by a round aluminium disk at
the centre.
Ваш отзыв будет первым
Вопросы пользователей
Поиск:
по производителю
по типу техники
по модели
Сортировать:
по дате

c ответами

Гость
26 ноября 2020, Донецк
Стёрлись цыфры температуры на духавке
0 ответов
Ответить

 0
0